
The Litter-Robot 4’s blue light error that appears after the cleaning cycle completes typically indicates a sensor detection problem—usually related to the optical sensors that monitor litter level or clumps. When your unit displays this blue light instead of returning to standby mode, it means the sensors aren’t reading the litter properly, either because they’re obstructed, misaligned, or potentially malfunctioning. For example, if litter dust or moisture buildup coats the sensor lens after cleaning, the blue light will persist even though the mechanical cleaning worked fine.
The good news is that this error is usually fixable through troubleshooting, though it does require the unit to remain inactive until you resolve it. Your cat won’t be able to use the litter box while the error persists, so addressing it promptly prevents litter box avoidance and accidents outside the box. Understanding what triggers this error and how to systematically resolve it will get your Litter-Robot back online faster.
Table of Contents
- What Does the Blue Light Error After Cleaning Sensors Mean?
- Why Do Sensors Fail or Get Blocked After Cleaning?
- Step-by-Step Troubleshooting the Blue Light Error
- Comparing Quick Fixes vs. Replacement Solutions
- When to Contact Litter-Robot Support vs. DIY Repair
- Preventative Maintenance to Avoid Future Sensor Errors
- Future Reliability and Long-Term Ownership Outlook
- Conclusion
What Does the Blue Light Error After Cleaning Sensors Mean?
The blue light is the litter-Robot 4’s way of signaling that the cleaning cycle initiated but didn’t complete successfully according to its sensor verification system. Unlike the normal blinking blue light that occurs during active cleaning, a persistent blue light after the cycle ends means the unit is stuck—it’s detected an anomaly and won’t cycle back to ready mode to protect against overflow or mechanical jams. The sensors rely on detecting the proper position of the waste bin, the litter level, and the rake position before the unit considers a cleaning cycle valid.
This distinction matters because different light codes signal different issues. A blue light specifically after cleaning typically means the infrared optical sensors that check litter distribution or bin position are either blocked, contaminated, or misaligned. A red light, by contrast, would indicate a more serious mechanical fault. The blue light puts the unit in a protective state, preventing it from cycling again until the sensor issue is addressed, which prevents potential damage to the motor or containment system.

Why Do Sensors Fail or Get Blocked After Cleaning?
Sensor failures or blockages in the Litter-Robot 4 happen most frequently when fine litter dust, moisture, or clumps get trapped in the sensor assembly during normal operation or the cleaning cycle itself. The unit uses optical sensors with infrared beams—these can be easily obscured by dust particles that have accumulated on the lens. If your cat litter is particularly dusty or if humidity is high in your home, you’ll see this issue more often. For instance, clay-based litters generate more dust than crystal or wood-based alternatives, and homes in humid climates see more moisture accumulation on sensor windows.
A second common cause is sensor misalignment or poor positioning of internal components. Sometimes the waste bin isn’t seated properly, or the rake assembly shifts slightly out of position, causing the sensor to fail its verification check. This can happen gradually over weeks of use, especially if the unit sits on an uneven surface or if someone has opened the unit for cleaning without reassembling it perfectly. The limit is that these sensors are sensitive to precise positioning—even a millimeter of misalignment can trigger the error.
Step-by-Step Troubleshooting the Blue Light Error
Start by doing a power reset: unplug the Litter-Robot for 30 seconds, then plug it back in and observe whether the error clears on startup. Many electronic glitches resolve with a simple reset, and this takes less than a minute. If the blue light returns immediately or never clears, move to physical inspection. Open the unit according to the manual and visually inspect both the infrared sensor windows (usually small dark spots on the interior walls or the waste bin area) for dust, litter, or moisture. Use a dry, soft cloth—microfiber works well—and gently wipe the sensor windows without pressing hard.
Next, check that the waste bin is seated fully and correctly in its position. Remove it, clean the bin opening area to remove any litter dust, and reinsert it firmly until you feel or hear a click. Reassemble any removable parts (the drawer, the hood) carefully to ensure nothing is binding. Then try a manual cleaning cycle by pressing the cycle button and watching whether the unit completes the full sequence. If the blue light reappears after cleaning, the sensor issue persists and you may need to contact Litter-Robot support or consider a sensor replacement, which is more involved than basic troubleshooting.
Comparing Quick Fixes vs. Replacement Solutions
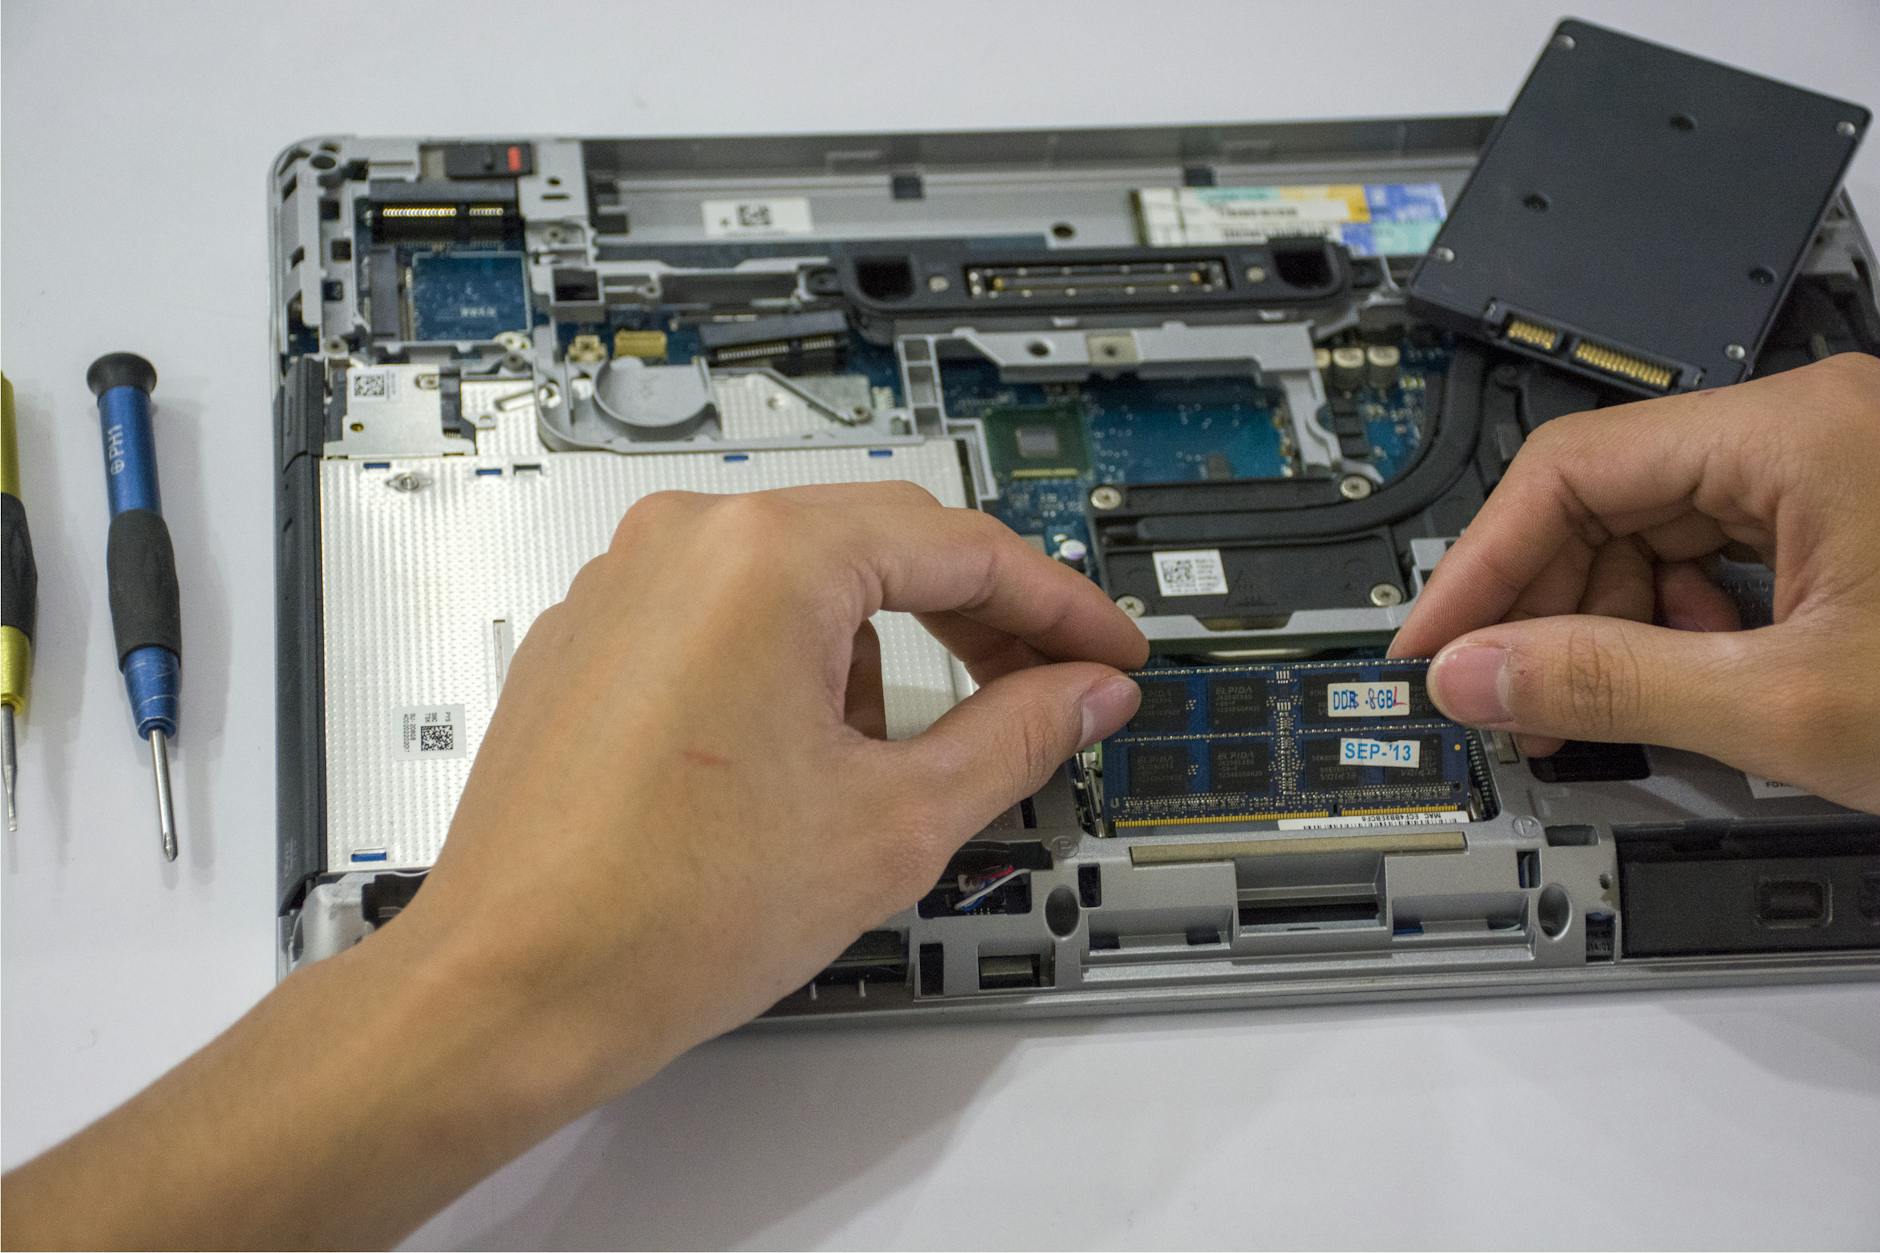
For minor contamination—dust or light moisture—a careful cleaning of the sensor windows is usually sufficient and takes 10-15 minutes. This is your first choice because it’s non-invasive and costs nothing. For persistent issues after cleaning, you have two paths: request a replacement sensor assembly from Litter-Robot support (typically $30-50 plus shipping if out of warranty), or troubleshoot more deeply by checking internal alignment and component positioning.
The trade-off here is time versus certainty—the cleaning approach is quick but may not resolve misalignment issues, while requesting a replacement guarantees a fix but means downtime and shipping delays. Some owners also experiment with upgrading to lower-dust litter formulas as a preventative measure, since reducing dust means fewer sensor blockages in the future. This isn’t a direct fix for the current error but does reduce recurrence. Expect to spend $3-5 more per bag for premium low-dust options, but over months of ownership, this preventative approach may save you frustration and service calls.
When to Contact Litter-Robot Support vs. DIY Repair
If your troubleshooting steps—reset, sensor cleaning, waste bin reseating—don’t resolve the error within 2-3 attempts, contact Litter-Robot support before attempting internal repairs yourself. The unit’s circuitry and sensor calibration are sensitive, and improper disassembly can create new problems. Support is responsive and will either walk you through advanced troubleshooting or authorize a replacement part.
A limitation to know is that out-of-warranty repairs may not be covered, and the unit is complex enough that opening it beyond the obvious compartments can void your warranty if you’re still covered. One warning: don’t attempt to bypass the error by disabling sensor checks or covering sensors manually. Some owners have tried this, thinking they could use the unit anyway, but doing so increases the risk of clump overflow, motor strain, or waste bin damage. The blue light error exists specifically to prevent those worse outcomes, so it’s better to address the root cause than work around it.
Preventative Maintenance to Avoid Future Sensor Errors
Establish a weekly sensor maintenance routine: every 7-10 days, do a visual inspection and gentle wipe of the sensor windows even if the unit is functioning normally. This prevents dust accumulation before it causes an error. Store the unit in a low-humidity area if possible—if your litter room is damp, consider running a small dehumidifier, which will also reduce odor and extend the unit’s lifespan.
Some owners place the Litter-Robot in a closet or utility area with a door that closes, which reduces humidity around the unit and keeps ambient dust lower. Choose your litter type strategically: low-dust formulas cost slightly more but generate fewer sensor blockages and are healthier for both you and your cat anyway. Compare a few options to find one your cat accepts and that produces minimal dust when scooped or walked through.
Future Reliability and Long-Term Ownership Outlook
The Litter-Robot 4 remains one of the most reliable automatic litter boxes on the market, and the blue light sensor error is manageable for most owners with basic maintenance. As the unit ages—after 2-3 years of daily use—sensor drift becomes slightly more common, so expect that sensor cleaning might become a monthly task rather than a yearly one.
The company has improved sensor reliability in the 4 compared to earlier models, suggesting that future revisions will continue addressing these edge cases. If you’re considering long-term ownership, the occasional sensor maintenance is a reasonable trade-off for the convenience and cleanliness that the Litter-Robot provides, especially for multi-cat households where manual scooping becomes burdensome.
Conclusion
The blue light error after cleaning sensors is usually a simple fix—most commonly resolved by cleaning the sensor windows or reseating the waste bin—but it signals that your unit needs attention to function properly again. Start with a reset and visual inspection, and clean the sensor windows gently if contamination is visible.
Avoid bypassing the error or attempting internal repairs yourself; instead, contact support if basic troubleshooting doesn’t resolve the issue within a few attempts. Going forward, commit to routine sensor maintenance every week or two and consider low-dust litter to reduce future blockages. With these preventative steps, your Litter-Robot 4 will serve your household reliably for years, keeping both your cat and your home cleaner than manual litter management allows.